Preparing Your Garden Before Selling Your Home
5 June 2026 · 6 min read
Start 6 to 8 weeks out, not the week before
Most sellers leave the garden until the styling stage, then try to fix it in the same week the photographer arrives. That is the wrong order. A garden cannot be rushed the way a room can. Fresh turf needs time to knit, new plants need time to settle and stop looking like they were dropped in yesterday, and mulch needs a week or two to lose its raw, just-bagged colour.
If your home is going to market in spring, the busiest selling window in Adelaide, the work that decides how the garden photographs should be underway by late winter. The single biggest lever on a sale-ready garden is not effort, it is lead time. Give yourself 6 to 8 weeks and the same tasks produce a settled, established look instead of a visibly last-minute one.
A useful test: walk to the kerb and take a photo on your phone. The camera flattens depth and exaggerates mess, which is exactly what a buyer scrolling listings at 10pm sees first. Whatever looks tired in that photo is what to fix, in roughly that order of priority.
Tidy and prune for sight lines before anything else
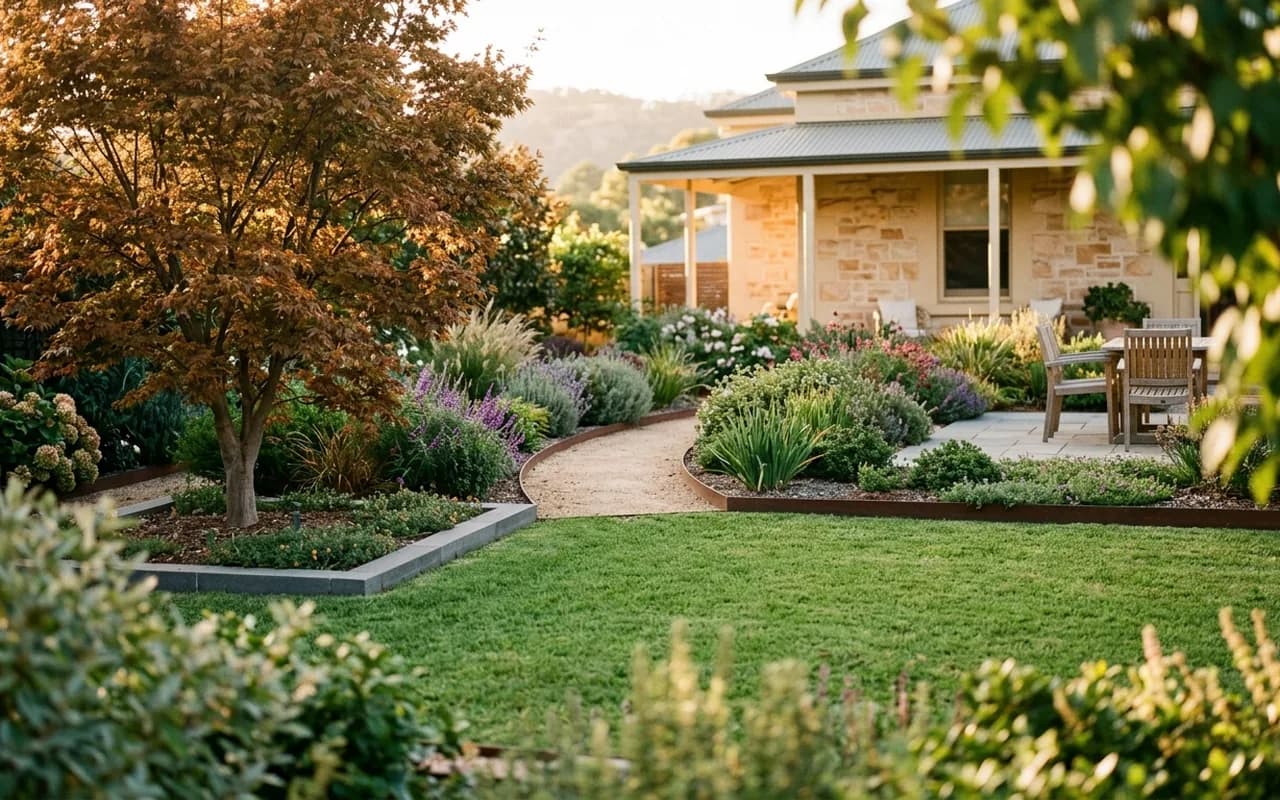
Before you spend a dollar on plants, spend a weekend on what is already there. Overgrowth is the most common thing holding an Adelaide garden back, and clearing it is free. Cut back anything crowding a path, a window, or the front door, lift the canopy on established trees so light reaches the ground, and pull every weed rather than mowing over them.
The phrase to keep in mind is sight lines. A buyer's eye should travel cleanly from the street to the front door, and from inside the house out to the garden. Branches across a window, a shrub swallowing the letterbox, or an air-conditioning unit left exposed all break that line and make a space read as smaller and less cared for than it is.
Prune with restraint. The goal is a garden that looks maintained, not one that looks butchered the week before sale. If a hedge or a feature tree needs structural work, that is a job for someone who shapes plants for a living, which is part of what our garden maintenance covers, rather than a hard cut you cannot undo before inspection day.
Edge, mulch and the cheap details that read as expensive
A crisp edge between lawn and garden bed is the highest-return hour you will spend out there. It is the detail buyers cannot name but always register, and it makes an ordinary bed look deliberate. Cut a clean spade line where the lawn meets the bed, or install a defined edge if the border is vague, then top the beds with fresh mulch.
Mulch does three things at once before a sale: it covers patchy, bare soil, it pulls the whole garden together with one consistent colour, and it tells a buyer the garden is being actively looked after. In Adelaide's dry climate it also holds moisture, so new planting survives the open-home period. A mid-brown bark or a fine pine works for most homes here. Avoid anything too red or too coarse, which photographs as artificial.
Then pressure clean the hard surfaces, and do this last so footprints and mulch spill do not undo it. Driveways, paths, the front porch, and rendered walls collect grime and moss slowly enough that owners stop seeing it. A clean concrete path against a freshly mulched bed and a sharp lawn edge is, frankly, most of the result. None of it is expensive, and all of it photographs.
Plant for impact where the camera and the buyer look
You do not need to replant the whole garden, and you should not try to. Spend the planting budget where it is seen: the approach to the front door, the view from the main living window, and any bare bed the camera will frame. A few mature, well-placed plants do more than a tray of small ones spread thin.
Choose plants that look settled immediately and survive an Adelaide summer with little water, because the garden has to hold up through weeks of inspections, not just the photo day. Reliable performers here include lomandra and dianella for structure, westringia or a clipped hedge for a defined edge, agapanthus or salvia for colour, and a feature such as a magnolia or a standard ficus by the entrance. Match the planting to the home: a Mediterranean palette for a coastal property at Henley or Glenelg, something more formal and green for a period home in Kensington or Mitcham.
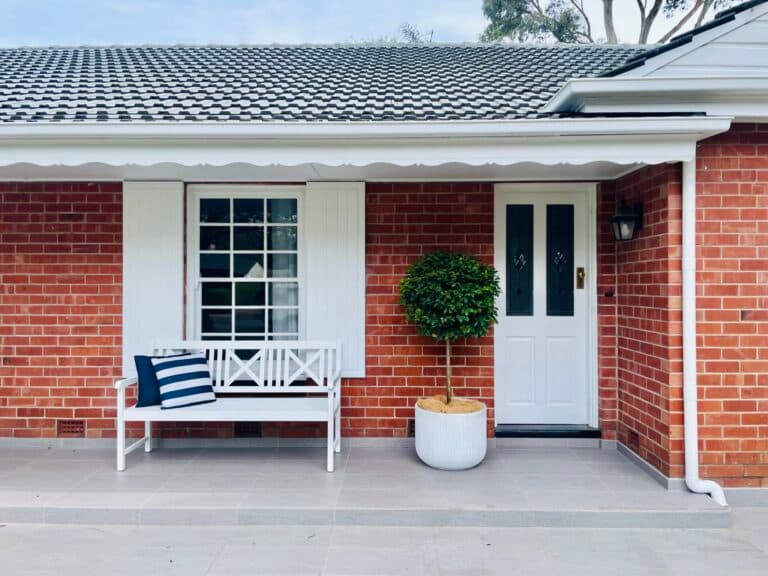
Annuals in pots at the entrance are the one genuinely last-minute move that works, adding colour the week of the open without pretending to be permanent. Keep the palette tight. A restrained, considered planting reads as more expensive than a busy one, and it is the look that carries through the listing photos.
The pre-sale makeover, and why the garden earns its keep
Done together, these steps are what a pre-sale garden makeover actually is: clear what no longer belongs, sharpen the structure, plant with intent at the points that matter, and finish every detail. A Yardner makeover begins with the garden already there. We are refining and restoring an established space, not building a new one from a blank slate, which is why it suits a sale timeline.
The numbers support the spend. Well-designed landscaping can lift a property's value by 10 to 20 percent, landscaping is one of the few home improvements that can return up to $3 for every $1 spent, and a well-presented garden can lift buyer interest by up to 30 percent at sale. The garden is also the first and last thing a buyer sees, at the kerb on arrival and on the way back to the car, so it frames the entire inspection.
We have seen this play out on real Adelaide sales. A neglected pre-sale yard in Walkerville, all patchy lawn and overgrown beds, was reset with premium turf, climate-suited planting, mature trees, and clean pathways. The home sold off-market and exceeded expectations by more than $150,000, and the vendors credited the garden as a key part of that result. The garden did not just present the home. It helped sell it.
Your sale-ready garden checklist
Work this list in order, allowing the 6 to 8 weeks above so the new work has time to settle before photos. Earlier tasks set up the later ones, which is why sequence matters as much as the tasks themselves.
- 1Tidy and clear: pull weeds, remove dead plants, clear paths and the entry, and screen or tidy bins, hoses, and the air-conditioning unit.
- 2Prune for sight lines: open the view from kerb to door and from living room to garden, and lift tree canopies for light.
- 3Lawn: feed, water, and re-turf or patch bare areas early so it is green and even by photo day.
- 4Edge: cut or install a clean line between every lawn and bed.
- 5Plant for impact: add a few mature plants at the entrance and the main window, with potted colour for the open.
- 6Mulch: top all beds with a fresh, natural-toned mulch for cover and moisture.
- 7Pressure clean last: driveway, paths, porch, and walls, after the messy work is done.
- 8Final pass on photo morning: mow, sweep, hide the hose, and move bins out of frame.
If the list is more than a few weekends of work, or the structure of the garden needs more than a tidy, that is what our landscaping and design service is for. Either way, start with the kerb photo, work the list in order, and give the garden the lead time to look like it has always been this way by the time buyers walk through.